Mirro Pressure Cooker Instruction Manual: A Comprehensive Guide
Welcome! This manual provides essential guidance for your Mirro Pressure Canner, covering setup, operation, maintenance, and advanced techniques for optimal results.
Mirro pressure cookers have a long-standing reputation for durability and reliability, becoming a kitchen staple for generations. This guide is designed to help both novice and experienced cooks unlock the full potential of their Mirro appliance. Pressure cooking offers a remarkably efficient method for preparing meals, significantly reducing cooking times compared to conventional methods.
By harnessing the power of steam under pressure, Mirro cookers tenderize tough cuts of meat, perfectly cook grains, and preserve the vibrant flavors of vegetables. This manual will walk you through every aspect of using your Mirro pressure cooker, from initial setup and safety precautions to mastering advanced techniques like pressure canning. We aim to ensure a safe and enjoyable cooking experience.

Understanding Pressure Cooking Basics
Pressure cooking fundamentally alters the cooking environment. By sealing in steam, a higher internal temperature is achieved – exceeding the normal boiling point of water. This elevated temperature dramatically speeds up the cooking process, preserving more nutrients and flavors within the food. Understanding this principle is key to successful pressure cooking.
The sealed environment also tenderizes tough ingredients, like meats and beans, in a fraction of the time. It’s crucial to remember that pressure builds within the cooker, necessitating strict adherence to safety guidelines. Proper venting procedures are essential for releasing this pressure safely. This manual will detail these procedures, ensuring you confidently utilize this efficient cooking method.
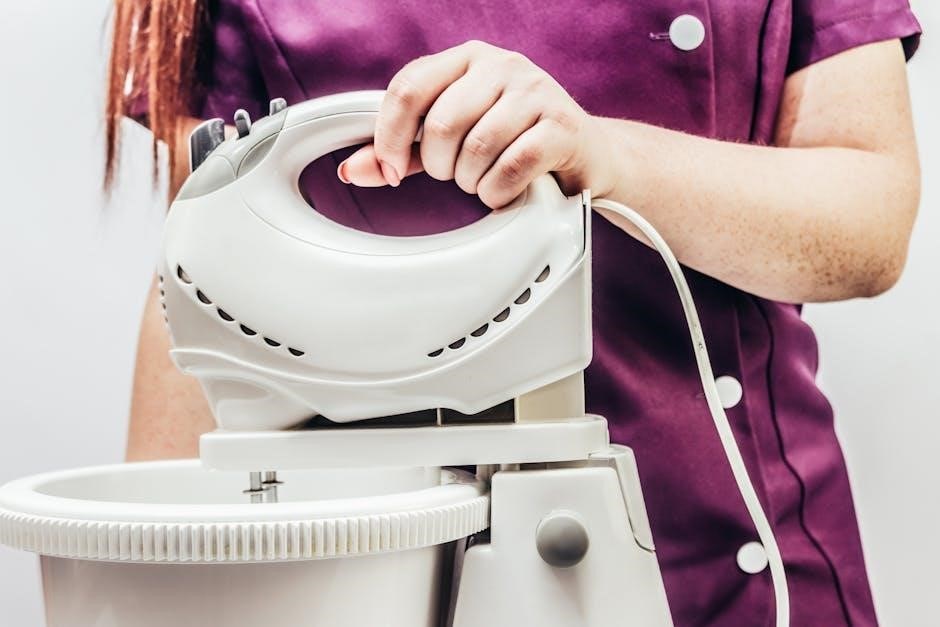
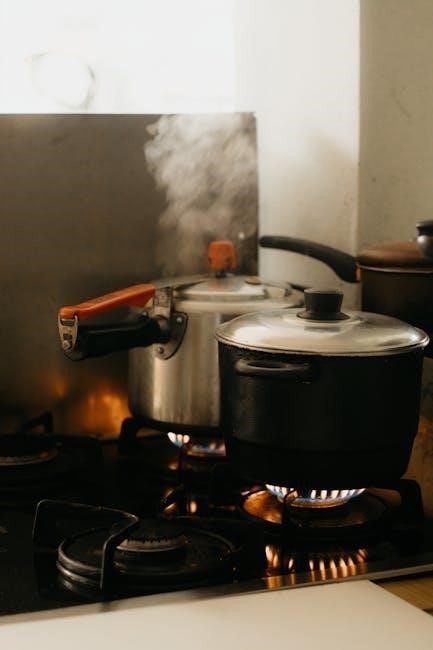
Key Components of Your Mirro Pressure Cooker
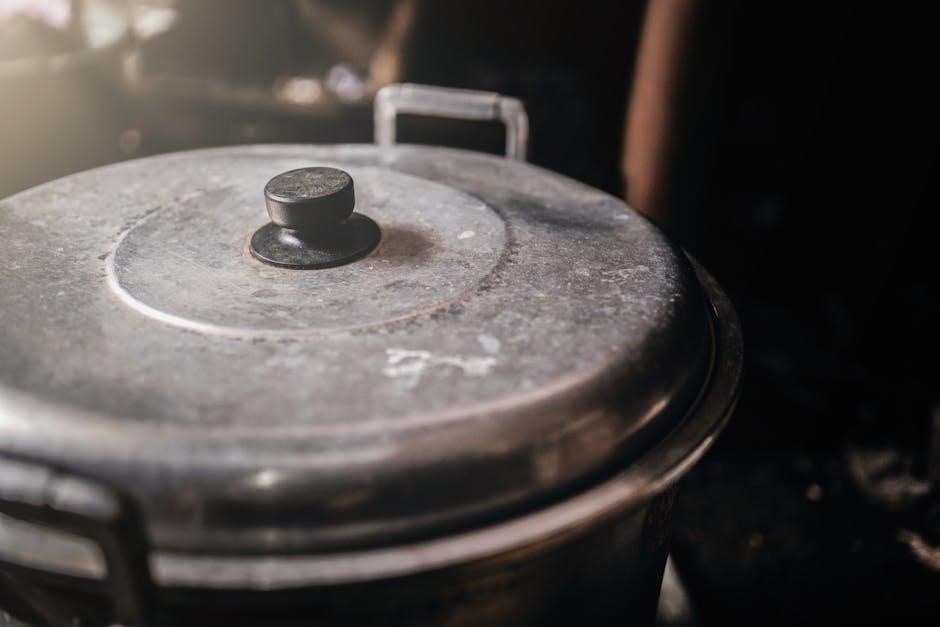
Your Mirro Pressure Cooker consists of several vital parts working in harmony. The main body, typically made of durable aluminum or stainless steel, houses the cooking chamber. A securely fitting lid, crucial for pressure build-up, features a sealing ring – usually rubber or silicone – ensuring an airtight closure.
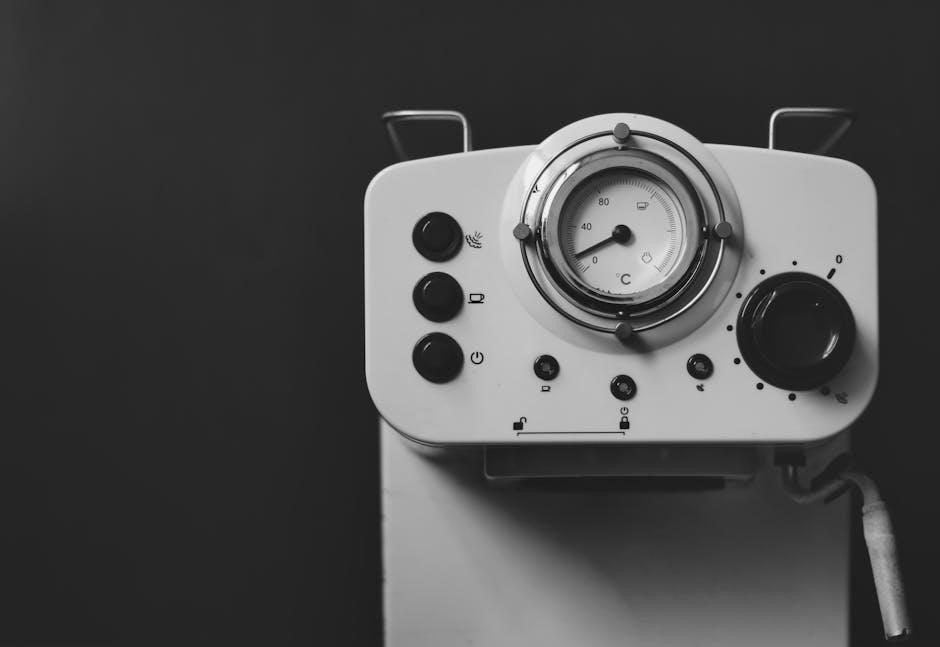
Pressure regulators (weights or valves) control internal pressure levels. Safety valves provide backup release mechanisms. Handles offer secure gripping, while the base provides stability. Familiarizing yourself with each component’s function is paramount for safe and effective operation. Understanding how these parts interact will enhance your cooking experience and ensure longevity of your appliance.
Safety Precautions: Before You Begin
Prioritizing safety is crucial when using your Mirro Pressure Cooker. Always read this manual thoroughly before first use. Never attempt to open the cooker while pressurized; ensure complete pressure release first. Inspect the sealing ring and safety valves before each use, replacing worn parts immediately.
Avoid overfilling the cooker, as this can obstruct vents. Never modify or tamper with safety features. Keep the cooker away from children. Ensure proper ventilation during operation. Understanding these precautions will minimize risks and guarantee a safe, enjoyable pressure cooking experience. Ignoring these guidelines could lead to serious injury.
Essential Safety Features
Your Mirro Pressure Cooker incorporates several vital safety features. The locking lid mechanism prevents opening during pressurization. A pressure regulator controls and maintains the desired pressure level. The safety valve automatically releases excess pressure, preventing dangerous build-up. The gasket creates an airtight seal, essential for proper operation.
Regularly inspect these components for wear or damage. A properly functioning safety valve is paramount. Familiarize yourself with each feature’s role and operation. Understanding these safeguards ensures safe and effective pressure cooking. Never disable or bypass any safety mechanism; they are designed to protect you.
Recognizing Potential Hazards
Pressure cooking, while efficient, presents potential hazards if safety guidelines aren’t followed. Improper lid sealing can cause steam leaks, leading to burns. Overfilling the cooker may block vents, creating dangerous pressure build-up. Forcing the lid open before complete pressure release is extremely hazardous.
Food particles obstructing the pressure regulator or safety valve can compromise their function. Ignoring recommended cooking times can result in undercooked or overcooked food, potentially causing illness. Always be mindful of hot steam and surfaces. Prioritize caution and adherence to instructions to mitigate these risks.
Setting Up Your Mirro Pressure Cooker
Proper setup is crucial for safe and effective operation. Begin by carefully unpacking your Mirro cooker and verifying all components are present. Before first use, thoroughly wash the pot, lid, and all removable parts with warm, soapy water. Inspect the sealing ring for any damage or defects; a properly seated ring is vital for pressure build-up.
Ensure the vent pipe and overpressure plug are clear of obstructions. Familiarize yourself with the lid locking mechanism. A secure lock is essential during operation. Following these initial steps will ensure your Mirro pressure cooker is ready for safe and successful cooking.
Initial Inspection and Cleaning
Before your first use, a thorough inspection is paramount. Carefully unpack the Mirro pressure cooker, checking for any shipping damage to the pot, lid, or included accessories. Verify the presence of all listed components – pot, lid, sealing ring, vent pipe, overpressure plug, and potentially a rack.
Next, wash the pot, lid, and all removable parts with hot, soapy water. Rinse completely and dry. Inspect the sealing ring for cracks, tears, or deformation; replace if necessary. Ensure the vent pipe and overpressure plug are clear of any obstructions. This initial cleaning and inspection guarantee a safe and hygienic cooking experience.
Attaching the Lid and Sealing Ring
Proper lid attachment is crucial for safe pressure cooking. First, ensure the sealing ring is correctly positioned within the lid’s groove – it should sit flush and without twists. Align the lid with the pot, matching the handle to the designated position. Gently lower the lid onto the pot, ensuring a complete and even seal.
Most Mirro cookers require a specific locking mechanism; rotate the lid handle until it clicks securely into place. Never force the lid. A secure lock indicates a proper seal. Double-check the sealing ring’s position after locking. An improperly sealed lid can lead to pressure loss and unsafe operation.
Operating Instructions: Step-by-Step Guide
Begin by adding the appropriate liquid – water, broth, or juice – to the cooker, following recipe guidelines. Next, carefully place your food inside, ensuring it doesn’t exceed the maximum fill line. Secure the lid, verifying a proper seal as detailed previously. Select your desired pressure setting (low, high, or variable) based on the recipe.
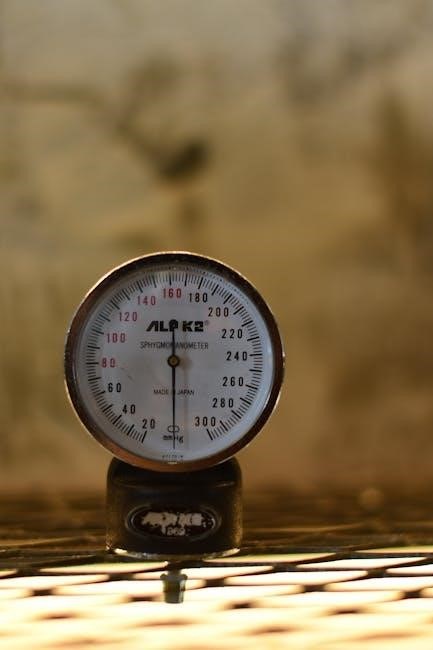
Place the cooker on a burner over medium-high heat. Allow it to vent steam for the specified time (usually 10 minutes) before attaching the weight or closing the valve. Monitor the pressure gauge and adjust heat to maintain the selected pressure. Remember to understand venting procedures for safe release!
Water Levels and Food Quantities
Maintaining correct liquid levels is crucial for safe and effective pressure cooking. Generally, a minimum of 1 cup of liquid is required for most recipes, but specific amounts vary depending on the food type and quantity. For vegetables, use at least 1.5 cups.
Never fill the cooker more than two-thirds full, and only one-half full for foods that expand during cooking, like beans or grains. Overfilling can obstruct the vent pipe, creating a dangerous situation. Always consult your recipe for precise liquid and food quantity recommendations to ensure optimal results and safety.
Venting Procedures: Natural vs. Quick Release
Understanding venting is vital for safe operation. Natural release involves allowing the pressure to dissipate on its own after cooking, taking approximately 10-30 minutes. This method is ideal for soups, stews, and foods with high liquid content, preventing splattering.
Quick release involves carefully releasing the pressure manually by activating the vent. Exercise extreme caution as hot steam will escape; This is suitable for vegetables or foods where overcooking is a concern. Always follow the manufacturer’s instructions and never force the vent open.
Pressure Settings: Low, High, and Variable
Mirro cookers offer versatile pressure settings to suit different recipes. Low pressure (typically around 5-7 PSI) is best for delicate foods like vegetables and fish, preserving texture and nutrients. High pressure (10-15 PSI) significantly reduces cooking times for tougher cuts of meat, beans, and grains.
Variable pressure settings, if available on your model, allow for precise control. Always consult your recipe to determine the appropriate pressure level. Incorrect pressure can lead to undercooked or overcooked results. Ensure the weight is correctly positioned for the desired setting.
Cooking Times for Common Foods
Pressure cooking dramatically reduces cooking times compared to conventional methods. However, precise times vary based on food quantity, initial temperature, and desired tenderness. This section provides general guidelines; always refer to tested recipes for optimal results.
Vegetables typically cook in 3-10 minutes, meats and poultry in 15-60 minutes, and beans and grains in 20-45 minutes. Remember to factor in the time to reach pressure and the pressure release method. Adjust cooking times based on altitude – higher altitudes require longer cooking durations.
Vegetables and Fruits
Pressure cooking preserves vibrant colors and nutrients in vegetables and fruits, offering a quick and healthy cooking solution. Root vegetables like potatoes and carrots generally require 3-7 minutes at high pressure, while softer vegetables like broccoli and green beans need only 1-3 minutes.
Fruits, especially for compotes or jams, benefit from shorter cooking times – typically 0-5 minutes. Always use the quick release method for fruits to prevent overcooking and mushiness. Remember to add a minimal amount of liquid to prevent scorching, and adjust times based on desired texture and quantity.
Meats and Poultry
Pressure cooking dramatically reduces cooking times for tougher cuts of meat, resulting in tender and flavorful dishes. Larger roasts (3-5 lbs) typically require 20-30 minutes at high pressure, while poultry pieces like chicken thighs need around 10-15 minutes. Always ensure meat is fully submerged in liquid – broth or water – to maintain moisture and prevent burning.
For larger poultry, like a whole chicken, increase cooking time to 25-35 minutes. Natural pressure release is recommended for larger cuts to ensure even tenderness. Adjust cooking times based on the specific cut and desired level of doneness, using a meat thermometer for accuracy.
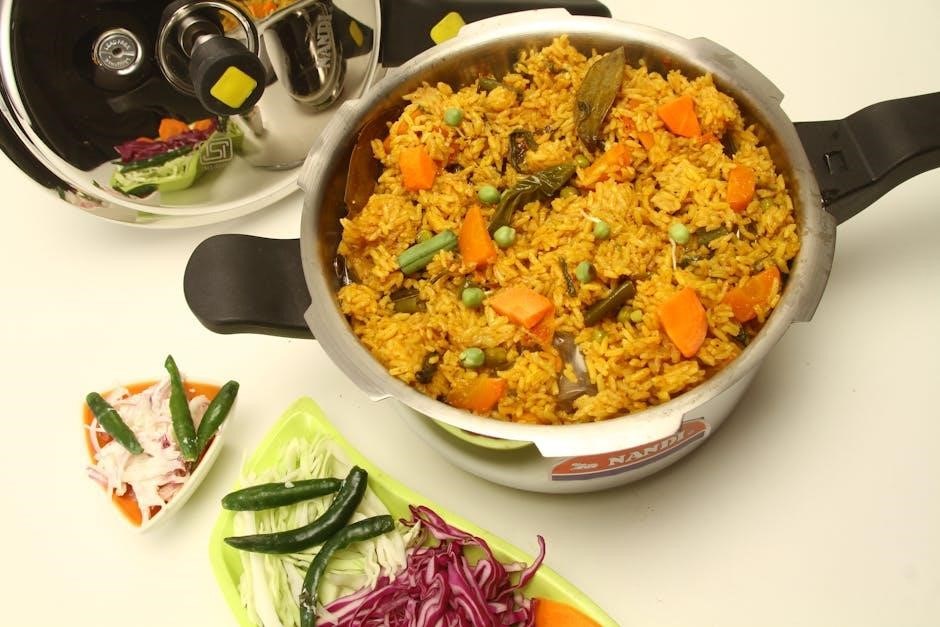
Beans and Grains
Pressure cooking is exceptionally efficient for preparing beans and grains, eliminating soaking for many varieties. Dried beans, like kidney or black beans, typically require 20-25 minutes at high pressure, followed by a natural pressure release. Adjust time based on bean type and desired texture. For grains such as quinoa or brown rice, use a 1:2 liquid-to-grain ratio and cook for 12-15 minutes at high pressure.
Proper liquid levels are crucial to prevent burning. Always check for doneness after the initial cooking time, as variations exist. A quick release can be used for grains, but natural release is preferred for beans to avoid splattering.
Troubleshooting Common Issues
Encountering problems? This section addresses frequent concerns. If your cooker won’t pressurize, ensure the lid is securely locked, the sealing ring is properly seated, and sufficient liquid is present. Food burning often indicates insufficient liquid or too high a heat setting – reduce heat and add liquid next time.
A difficult-to-open lid usually means residual pressure remains. Never force it open! Allow a complete natural pressure release or carefully perform a quick release following safety guidelines. Persistent issues may require inspecting the vent pipe for blockages or contacting customer support.
Cooker Won’t Pressurize
Frustrated your cooker isn’t building pressure? First, verify the lid is correctly aligned and securely locked into place – a misaligned lid prevents a proper seal; Next, inspect the sealing ring; ensure it’s properly seated within the lid groove and free from cracks or damage.
Insufficient liquid is a common culprit; always meet the minimum liquid requirements specified in your recipe. Finally, confirm the vent pipe isn’t blocked by food particles. If problems persist, double-check the heat source is sufficient and the pressure regulator is functioning correctly.
Food is Burning
Discovering burnt food is disappointing! Insufficient liquid is the primary cause; always adhere to the minimum liquid levels outlined in your recipe. Ensure food isn’t sticking to the bottom of the pot – a little oil or liquid can help.
Reduce cooking time, especially for delicate foods, and consider using the lower pressure setting. Stirring food before pressurizing can also prevent sticking. If burning occurs frequently, verify your pressure regulator is functioning correctly, preventing excessive heat. A thorough cleaning after each use prevents residue buildup.
Lid is Difficult to Open
A stuck lid can be frustrating! Always ensure the cooker has fully depressurized – either through natural release or the quick release method – before attempting to open it. Never force the lid; this can damage the sealing mechanism.
If it remains stuck, gently rotate the lid back and forth while applying upward pressure. Check the sealing ring for proper placement and damage; a worn ring can create a vacuum. A small amount of petroleum jelly can help the ring seal and release. If problems persist, avoid using the cooker until the issue is resolved.
Cleaning and Maintenance
Regular cleaning extends your Mirro cooker’s life! After each use, allow the cooker to cool completely before disassembling. Wash all removable parts – lid, sealing ring, steam vent – with warm, soapy water. Avoid abrasive cleaners that can damage surfaces. Inspect the sealing ring for cracks or deformation; replace it annually or as needed.
The cooker body can be wiped clean with a damp cloth. Ensure the steam vent is clear of obstructions. Proper storage involves drying all parts thoroughly and storing them in a cool, dry place. Consistent maintenance ensures safe and efficient operation.
Proper Cleaning Procedures
Thorough cleaning is vital for safety and longevity! Begin by ensuring the pressure cooker is completely cool and depressurized. Remove the lid and sealing ring. Handwash all removable parts – lid, ring, steam vent, pressure regulator – in warm, soapy water. Avoid harsh abrasives or scouring pads that could scratch surfaces.
Pay close attention to cleaning the vent pipe and regulator to prevent blockages. The cooker body can be wiped down with a damp cloth. Rinse all parts thoroughly and allow them to air dry completely before reassembly and storage. Never immerse the cooker body in water.
Replacing the Sealing Ring and Other Parts
Regular inspection is key! The sealing ring, crucial for pressure build-up, should be replaced every 1-2 years, or sooner if cracked, brittle, or damaged. Always use a genuine Mirro replacement ring for a proper seal. The pressure regulator and safety valve also wear over time and should be checked periodically.
Replacement parts are available through retailers or directly from the manufacturer. When replacing the regulator or valve, ensure it’s the correct model for your cooker. Carefully follow the instruction manual’s diagrams for proper installation. A faulty part can compromise safety, so prioritize genuine replacements.
Long-Term Storage
Proper storage preserves your cooker! Before long-term storage, thoroughly clean and dry all components, including the pot, lid, and sealing ring. Remove the sealing ring and store it separately in a cool, dry place to prevent deterioration. Do not store the lid sealed onto the pot; this can trap moisture and cause corrosion.
Store the pressure cooker in a dry environment, away from direct sunlight and extreme temperatures. Consider placing a desiccant packet inside the pot to absorb any residual moisture. Periodically check the cooker during storage for any signs of rust or damage.
Advanced Techniques & Recipes
Expand your culinary horizons! Beyond basic cooking, your Mirro pressure cooker excels at pressure canning, preserving seasonal produce safely and efficiently. Mastering this technique requires strict adherence to tested recipes and processing times – consult reliable canning resources for guidance.
Furthermore, unlock deeper flavors by creating rich, homemade stocks and broths in a fraction of the time compared to conventional methods. Experiment with different ingredients and seasonings to customize your creations. Remember to always follow safety guidelines when utilizing advanced techniques.
Pressure Canning Basics
Preserve your harvest safely! Pressure canning utilizes high heat to destroy harmful bacteria, making it ideal for low-acid foods like vegetables, meats, and poultry. Always use tested recipes from reputable sources – altering ingredients or processing times can compromise safety.
Proper jar preparation, headspace, and venting procedures are crucial for successful canning. Ensure jars are free of cracks and chips, and follow recommended headspace guidelines. Understand the difference between raw packing and hot packing methods. Strict adherence to guidelines is paramount for food safety and longevity.
Making Stocks and Broths
Unlock rich flavors quickly! Your Mirro pressure cooker dramatically reduces stock and broth simmering times, extracting maximum flavor from bones, vegetables, and herbs. This method yields a deeply flavorful base for soups, sauces, and risottos in a fraction of the traditional time.
Utilize leftover bones, vegetable scraps, and aromatic ingredients for cost-effective and delicious results. Adjust cooking times based on ingredient quantity and desired intensity. Remember to strain the finished stock through a fine-mesh sieve for a clear, refined broth. Enjoy homemade goodness with minimal effort!
Mirro Pressure Cooker Model Variations
Explore the Mirro family! Over the years, Mirro has produced several pressure cooker models, each with slight variations in features and capacity. Common distinctions include differing valve systems, lid locking mechanisms, and pot materials – aluminum versus stainless steel.
Older models may require specific replacement parts unavailable for newer versions; Always refer to your cooker’s specific model number (usually found on the underside) when seeking parts or troubleshooting. Understanding these differences ensures correct operation and maintenance. Consult dedicated online forums for model-specific advice and support from fellow Mirro enthusiasts.
Finding Replacement Parts
Maintaining your Mirro is key! Replacement parts, such as sealing rings, gaskets, pressure regulators, and safety valves, are crucial for safe and effective operation. Several online retailers specialize in pressure cooker parts, offering a wide selection for various Mirro models.
Always use genuine Mirro parts or those specifically designed as compatible replacements. Incorrect parts can compromise safety. When ordering, have your cooker’s model number handy to ensure a proper fit. Check appliance parts websites and online marketplaces. Prioritize reputable suppliers to guarantee quality and authenticity for long-lasting performance.